Hi Again,
Since I suspected I had issues with reliable and stable power, I took the plunge to recap my PAL Amiga 1000 (no piggyback), and pleased to say it was a great success!
 |
| CLK (Pin 15) Before Recapping Max 3.48V Mean 1.64V |
 |
| CLK (Pin 15) After Recapping Max now 3.6V (+0.12V) Mean 1.72V (+0.08V) |
 |
| ECLK (Pin 20) before recapping Mean 1.92V Max 5.28V |
 |
| ECLK (Pin 20) AFTER recapping Mean now 2V (+0.08V) Max now 5.52V (+0.24V) |
I started with a purchase of an Amiga 1000 cap kit from Retro Rewind which I later found was really for an NTSC Amiga 1000 with piggyback. The only difference was that I needed to purchase an extra 220uF electrolytic capacitor, which I purchased from Mouser.
Rubycon Aluminum Electrolytic Capacitors

Cap - Value - Rating - Type
C48 - 22uf - 16v - Radial (my order came with 25V)
C49 - 22uf - 16v - Radial (my order came with 25V)
C50 - 22uf - 16v - Radial (my order came with 25V)
C63 - 22uf - 16v - Radial (my order came with 25V)
C64 - 22uf - 16v - Radial (my order came with 25V)
C65 - 22uf - 16v - Radial (my order came with 25V)
C66 - 22uf - 16v - Radial (my order came with 25V)
C78 - 100uf - 16v - Radial (my order came with 25V)
C79 - 100uf - 16v - Radial (my order came with 25V)
C80 - 100uf - 16v - Radial (my order came with 25V)
C175 - 100uf - 16v - Radial (my order came with 25V)
C93 - 220uf - 16v - Radial
C95 - 470uf - 16v - Radial
(Daughterboard)
C10 - 100uf - 16v - Radial (my order came with 25V)
C11 - 100uf - 16v - Radial (my order came with 25V)
There was a delay with the Retro Rewind order, and when I enquired about the difference in Cap values between my mainboard and from the caps supplied, I never received a reply. Also note the caps provided by Retro Rewind were mostly 25V rather than the 16V on the original board - but this won't really matter and is a safe replacement.

 |
| uh oh, should be below 0.18, this cap is not good! |
 |
| Yippee! First cap in! |
 |
| 22uF caps all removed |
 |
| Using LOTS of flux to remove the 100uF caps |
 |
| New caps in! |
 |
| OK, could have used blu-tack to keep the 22uF caps flush with the board, but sticking up a little bit is OK |
 |
| 100uF caps in, phew! That was 4+ hours I will never get back :) |
 |
| The 220uF caps were proving near impossible, I would not recommend this - but I snipe the legs as high to the cap as I could, and then added heat to the component side of the board which allowed me to pull the lead out quite easily with long-nose pliers. Im sure there is a more professional way to do this! |
 |
| 220uF caps gone! Holes ready for the new caps. |
 |
| It took me so long to get these suckers out, her sis mother pic from the side :) |
 |
| It is a thing of beauty! All new caps - note the new caps are physically much smaller. Proof technology continues to improve in the last 37 years! |
 |
| Another photo of all the caps in, from the top. It was easy, but be patient! |
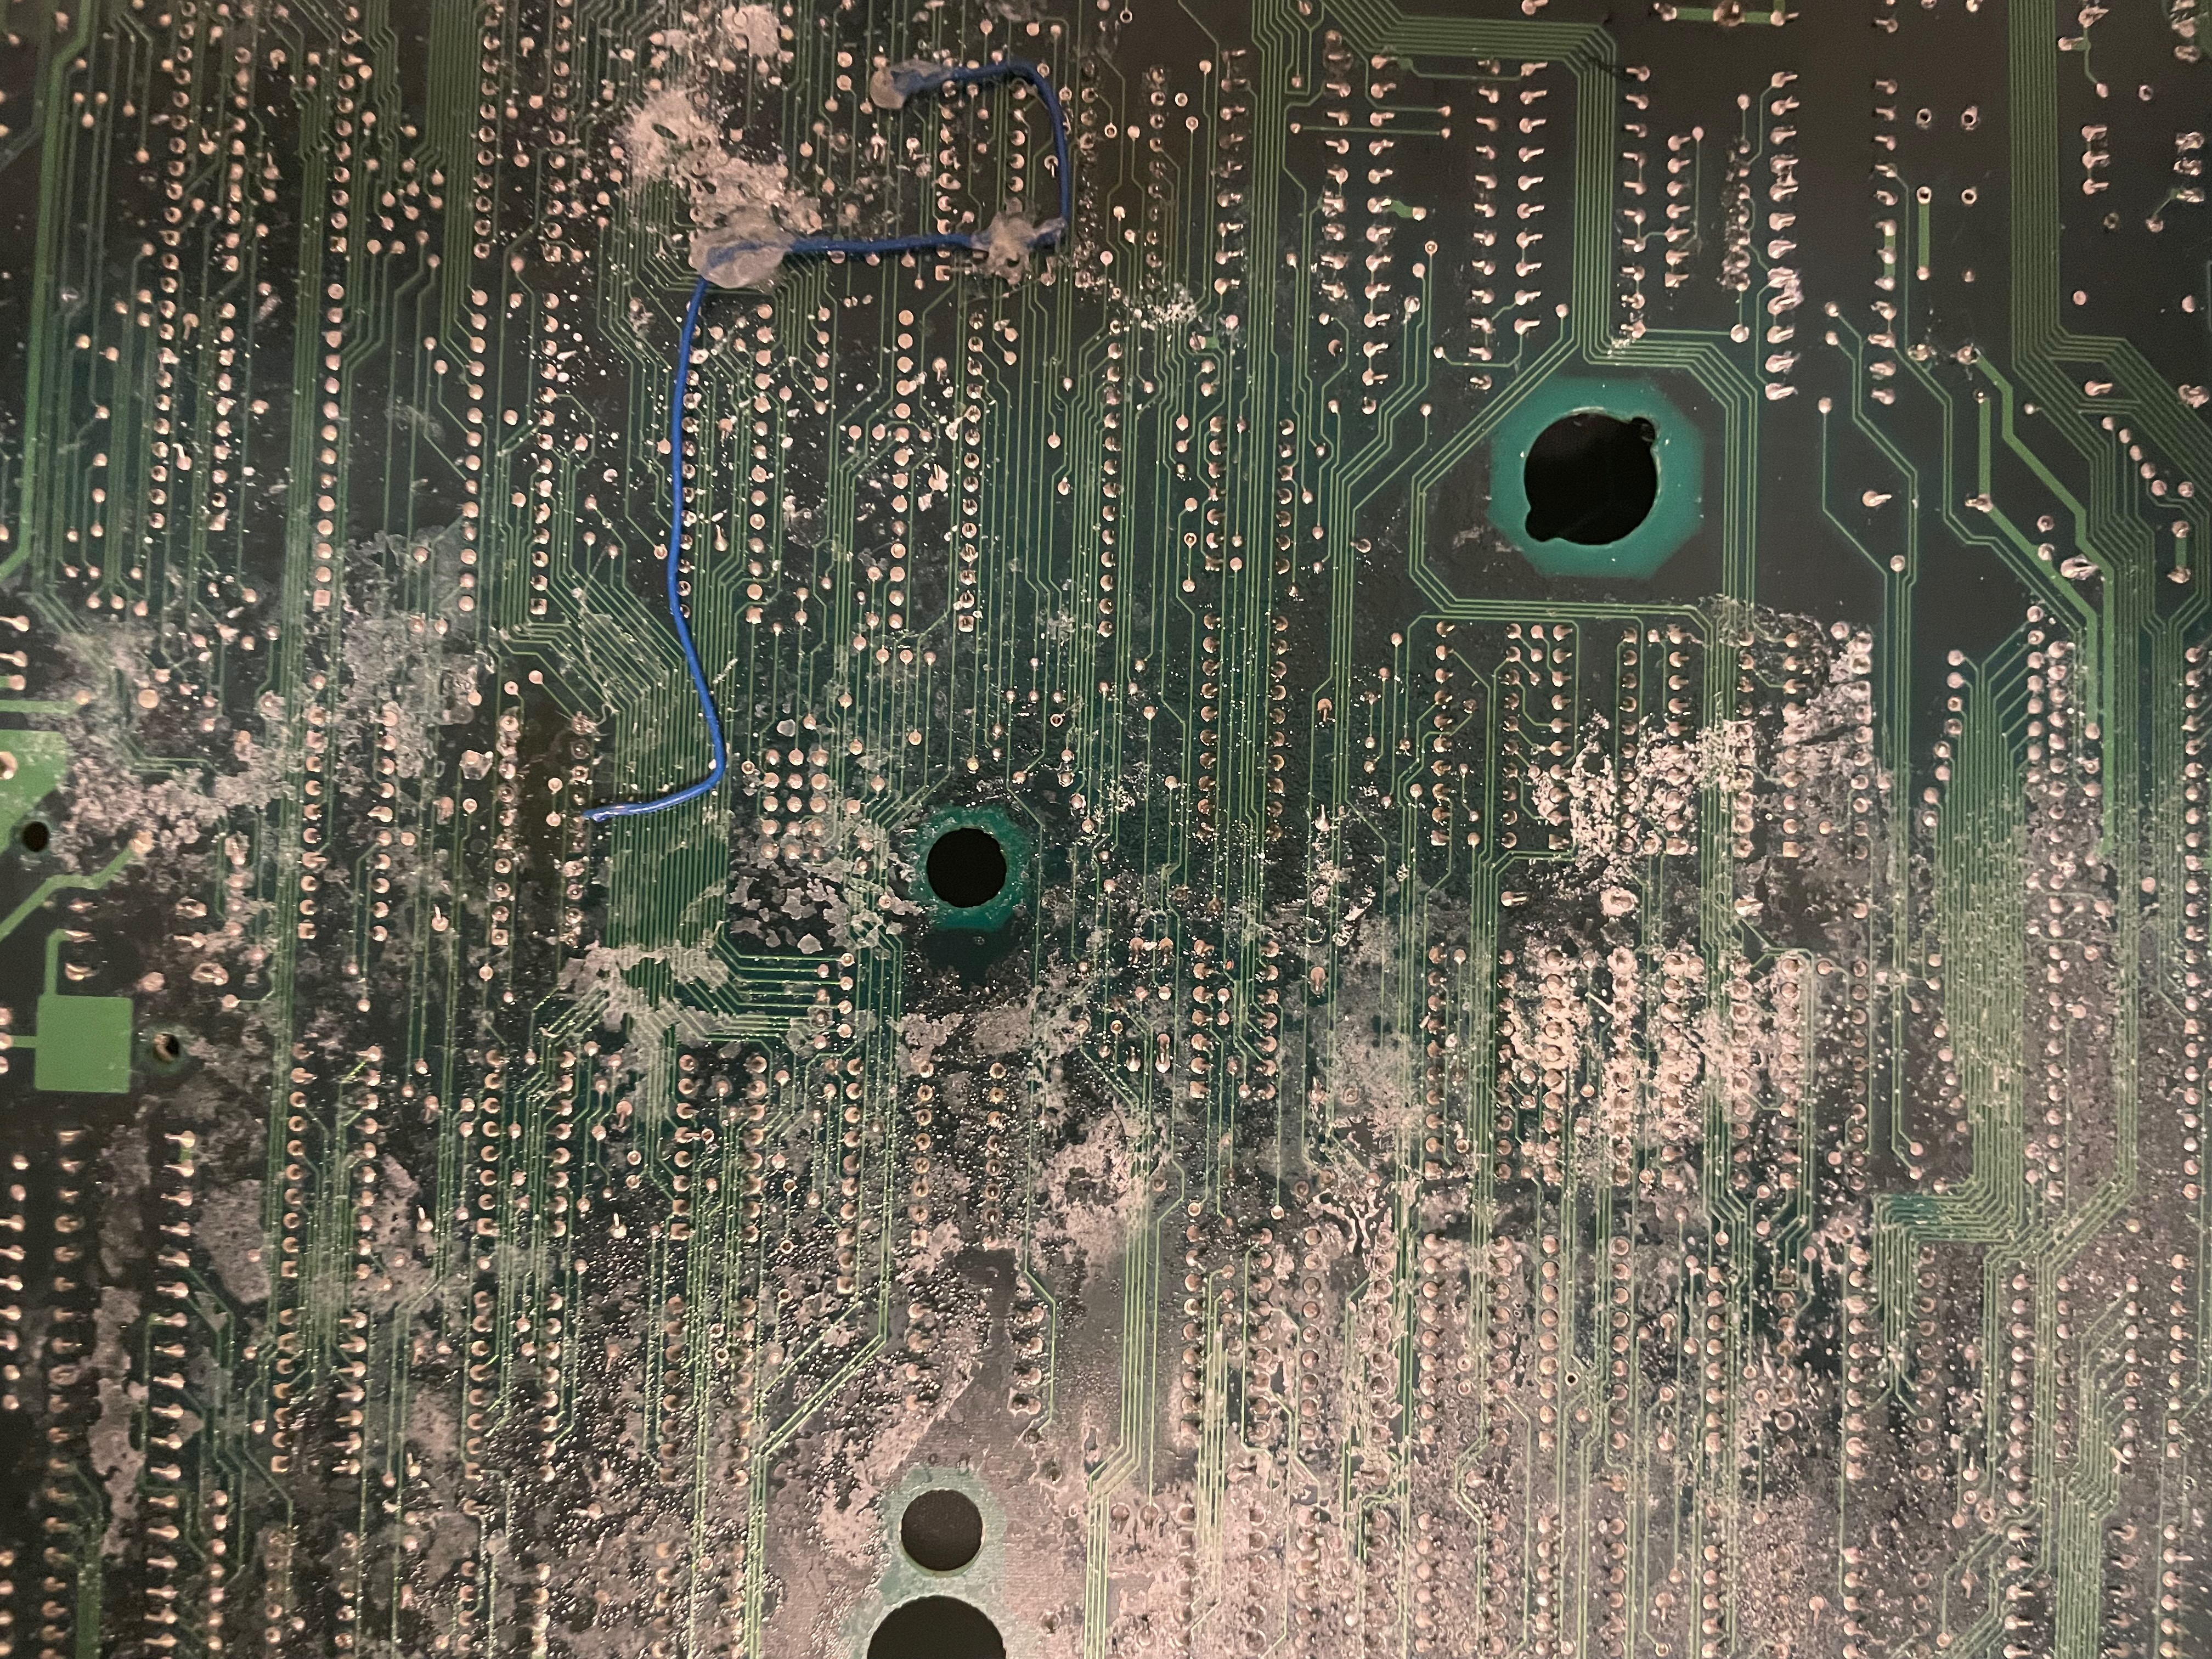 |
| White marks are from the Clea-up, they won't hurt the board. |


