G'day everyone, this blog is my journey and experience with purchasing and restoring my favourite computer of all time, the Amiga 1000, and hopefully will help other people in their journey too. My experience would see parts delivered from 9 different countries across the globe, and has been 4 months in the making.
Disclaimer: There is no sponsorship or payment in kind, and all comments are my own experience / opinions unless stated otherwise. I am a private individual member of the public, I am not a business, nor am I representing any business. This blog is not to be taken or used as advice or instruction, replicate at your own risk. I have destroyed 1 x accelerators, 1 x GOTEK drive, and possibly 1 x Amiga 1000 (at time of writing) in my adventure so far 😅
September 2022:
After years diving into emulating the Amiga on PC, Mac and Raspberry Pi systems, even TheA500 Mini, and failing to find that Amiga feeling, I started looking around for a 'project' to dive into.
If you just want to play Amiga games, save yourself a LOT of frustration, and just buy Amikit I liked the product so much, I joined the beta testing team, but these days I have not been actively helping as I'm buried in the real hardware. Amikit is the best of the setups I have used (and I've tried most), comes already configured and ready to play and avoids all the messy chip ram, library, IDE drives etc issues. Plus you are supporting the Amiga community.
I also tried the Vampire 4 StandAlone , which advertises itself as 100% compatible. But Gunnar and I have a different definition of 100% compatible. I found in 2018, about 50% of the games worked, Nitro, Last Ninja, Nuclear War were not amongst those that worked - I was doing a lot of testing and reporting results back to the Apollo development team). It also, still did not feel like an Amiga - it was something else, trying to be an alternative for modern computing. Anyway, it wasn't what I was searching for, so it was sold off about 12 months later.
If you want a modern computer, buy an M1 Mac or for Amiga emulation, an Intel based machine and run WinUAE or FS-UAE (Noting that I found the M1 Mac took excessively long to start WinUAE or FS-UAE, even using the ARM build - but maybe that is just my experience). Or the best all-round solution in my opinion, buy a Raspberry Pi 400 and run Amikit on that - it is the closest I came to feeling like I had a real and modern Amiga, and you can't beat the price/performance.
It took me a while to forget about value for money, return on investment, or any benefit outside of it's a hobby, hobbies don't need to be justified, and it's good for everyone's mental health to indulge in a hobby (at least a little).
We have a local alternative to eBay here in Australia, called Gumtree (which is now owned by eBay anyway), and an Amiga 1000 came up for sale in a coastal town called Moruya, in NSW. About 2.5 hours from where I live. It came with a 1081 monitor, and external 1011 floppy drive, and a 2MB RAM expansion. It was listed as "worked last time we turned it on", but was missing a keyboard and a mouse which were all warning signs, but exactly what I was looking for - a project.
The ask price was $1,000AUD, and I bought it without negotiating as the previous owners were really lovely people, and it happened to be my birthday, so the universe was telling me to do this (well, that's what I told my wife and kids).
In hindsight, buying an Amiga 1000 without a keyboard is not the best idea. The keyboards are hard to come buy, and cost a fortune when they do come around!
Later on I would purchase another Amiga 1000 for spares, and took the Amiga 1000 keyboard from that. In the short term, I ended buying an Amiga 2000 keyboard on eBay and having it shipped from the US ($450AUD), while also purchasing an adapter on eBay (digital illusions) to go from DIN to 4-pin RJ10. Note - the keyboard uses an old landline phone-like cable to connect to the Amiga, but it is NOT an RJ45 which is standard in Australia - it is a slightly smaller RJ10!!
I found an RJ10 cable at the Telecom Shop to replace a mangled cable that came with another Amiga 1000 I would also buy later. DigiKey also sell these, so not too hard to find a replacement keyboard cable if needed.
 |
| Amiga 1000 day zero |
 |
| Failed to Boot |
Bare Metal. It's like Death Metal. Except harder, faster, and more punk:
 |
| Middle plastic cover and 256KB module removed |
 |
| The 256KB RAM Module |
 |
| The MiniMegs 2MB RAM Expansion (plugs in to side port of the Amiga 1000) |
 |
| The inside of the 2MB RAM expansion |
 |
| A magnetic tip screwdriver is your best friend here |


 |
| Rusted shield |
 |
| Closer inspection shows rusted pit-marks |
 |
| Power LED is not removable from the mainboard |
 |
| I had to remove the Power LED from the front panel, there was no intermediary connector, and it was permanently fixed to the mainboard, hence could not be removed. |
 |
| The Floppy Drive does have an intermediary connector and much easier to remove. |
 |
| Shield removed...sooo many screws!! |

I've then removed the floppy drive, and the ground cable connected to the floppy drive chassis. I have read that this ground cable is important for reliable reading of floppy disks, however if you are removing your floppy drive (to make room for an accelerator or an internally mounted GOTEK drive) then you don't need it. But, don't cut it - you might need it in the future if you put a floppy drive back in!!
 |
| Don't forget to also unscrew and remove the brass cylinders (there are 4, either side of the screw I'm removing in this pic) |
 |
| Floppy Drive Ground Connection, be careful when removing your floppy drive. |
 |
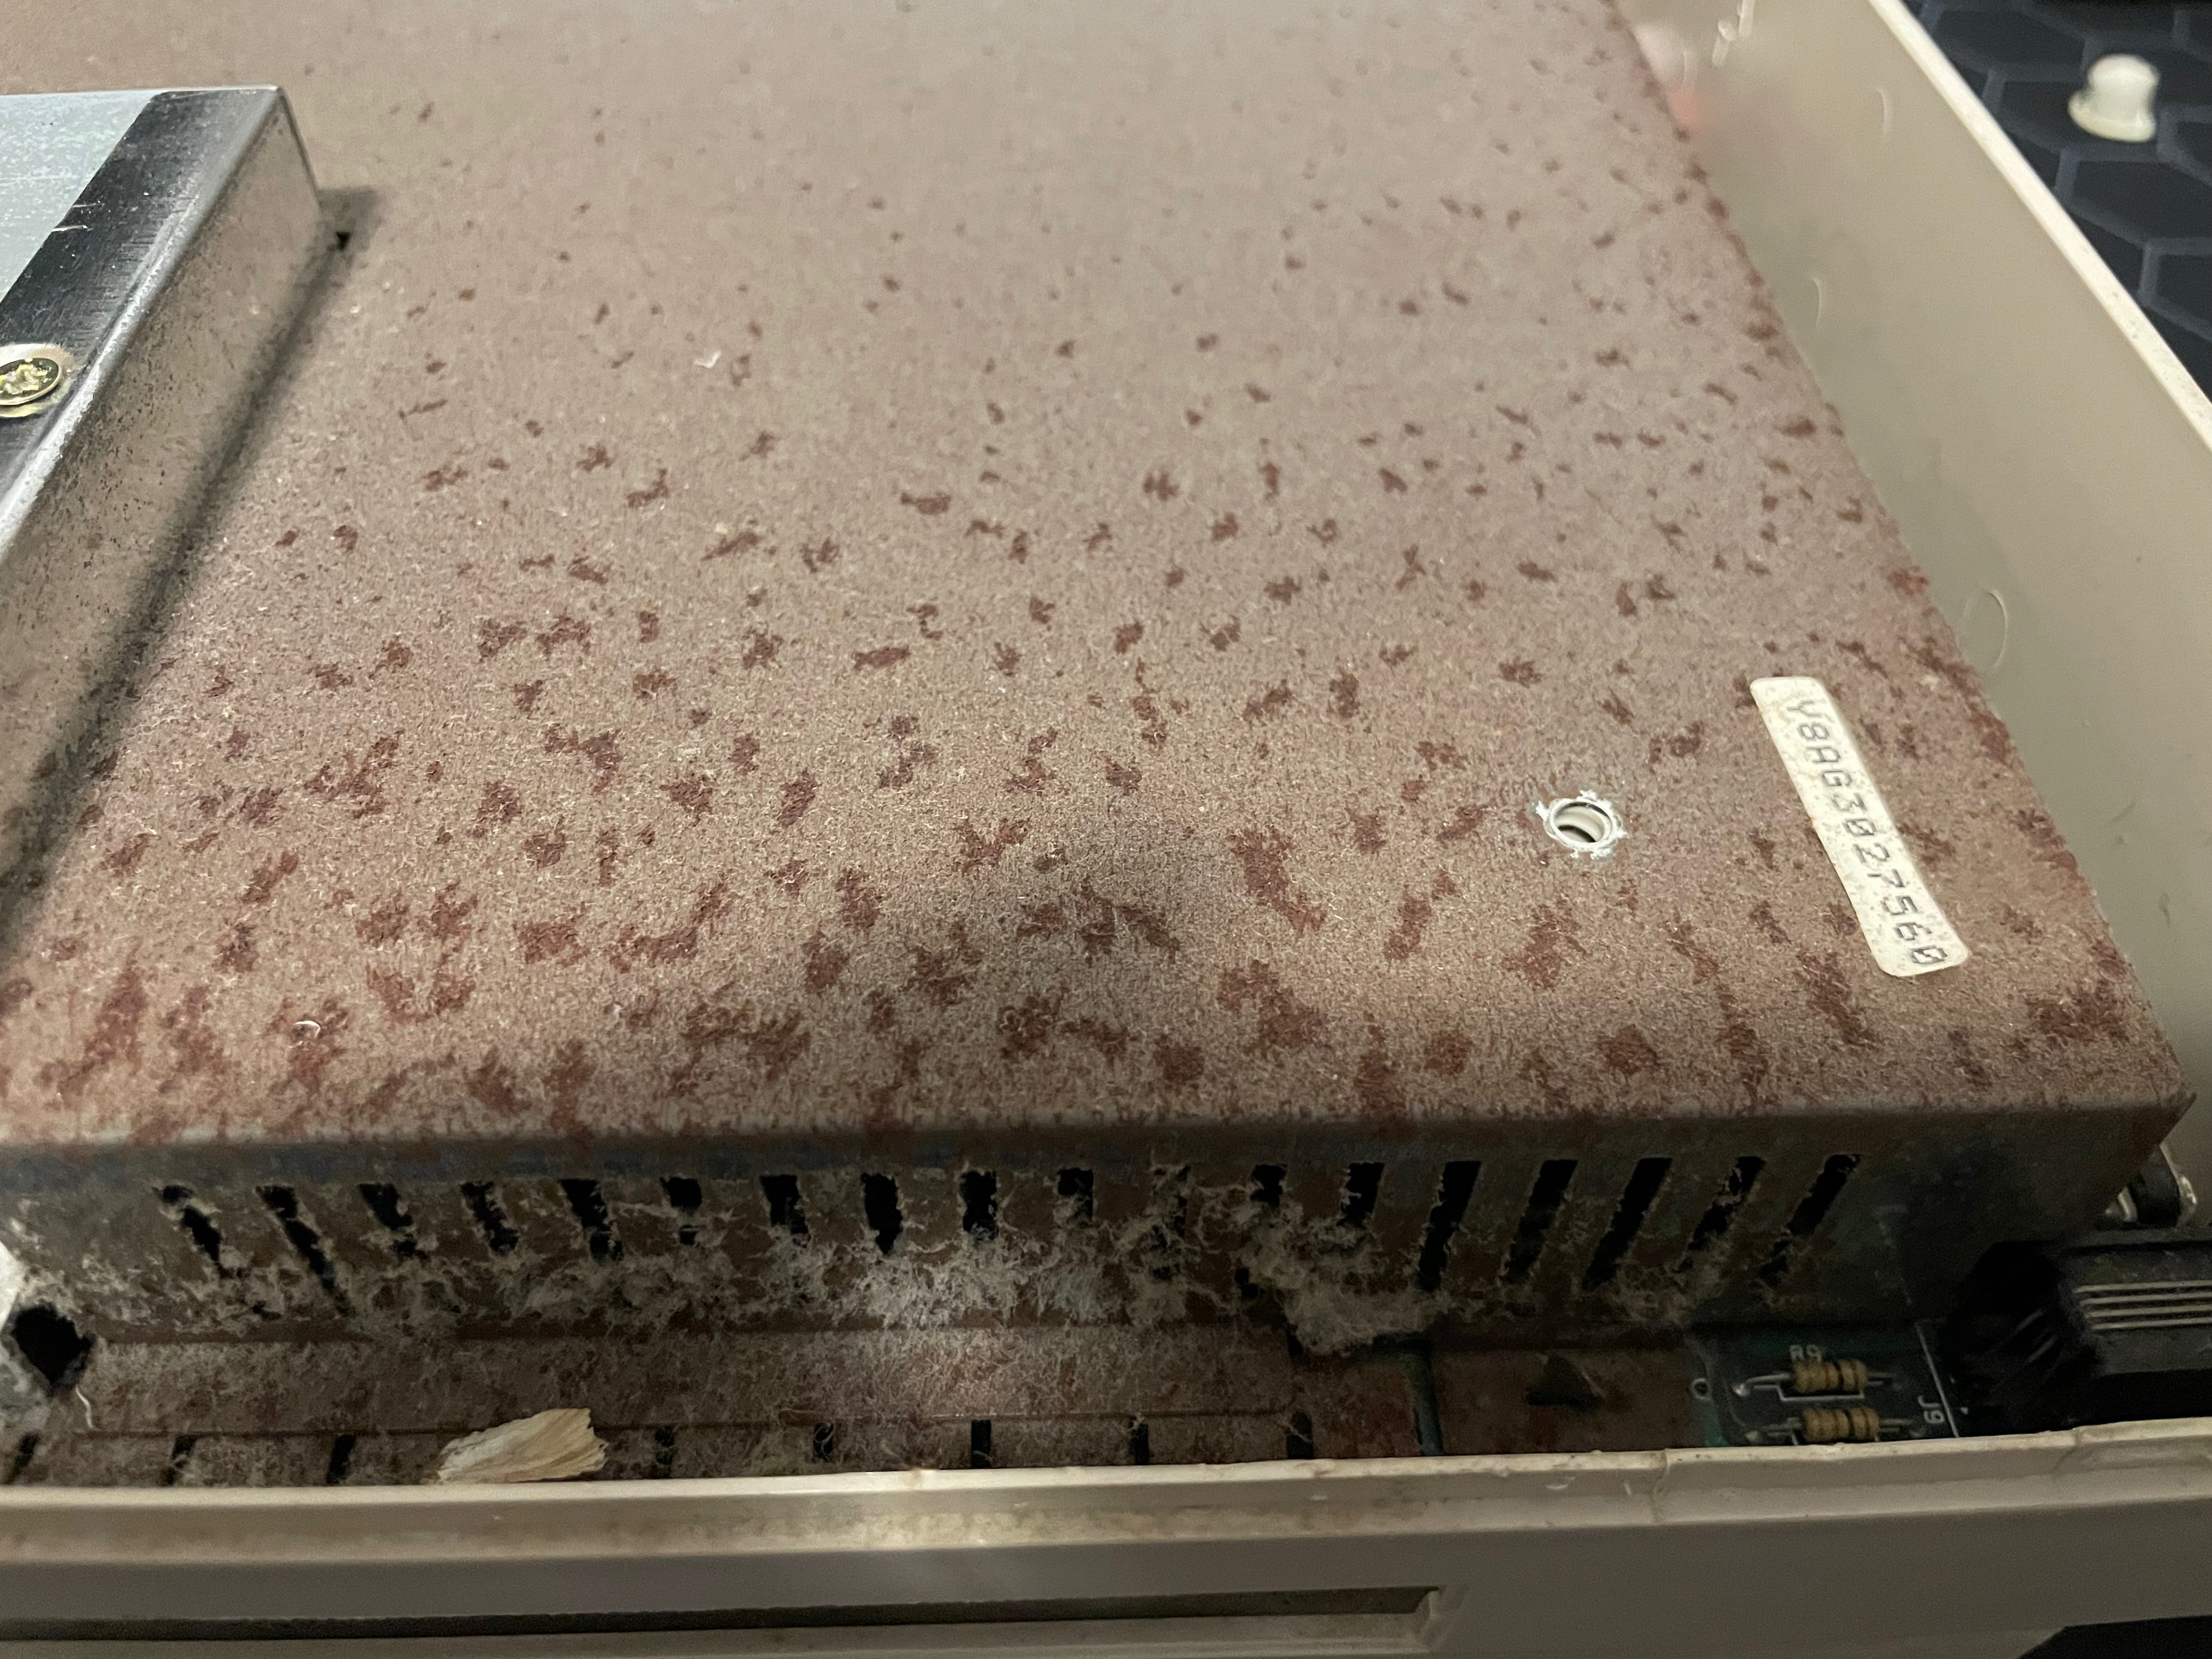
| Ugh! 37 years of dust build-up |
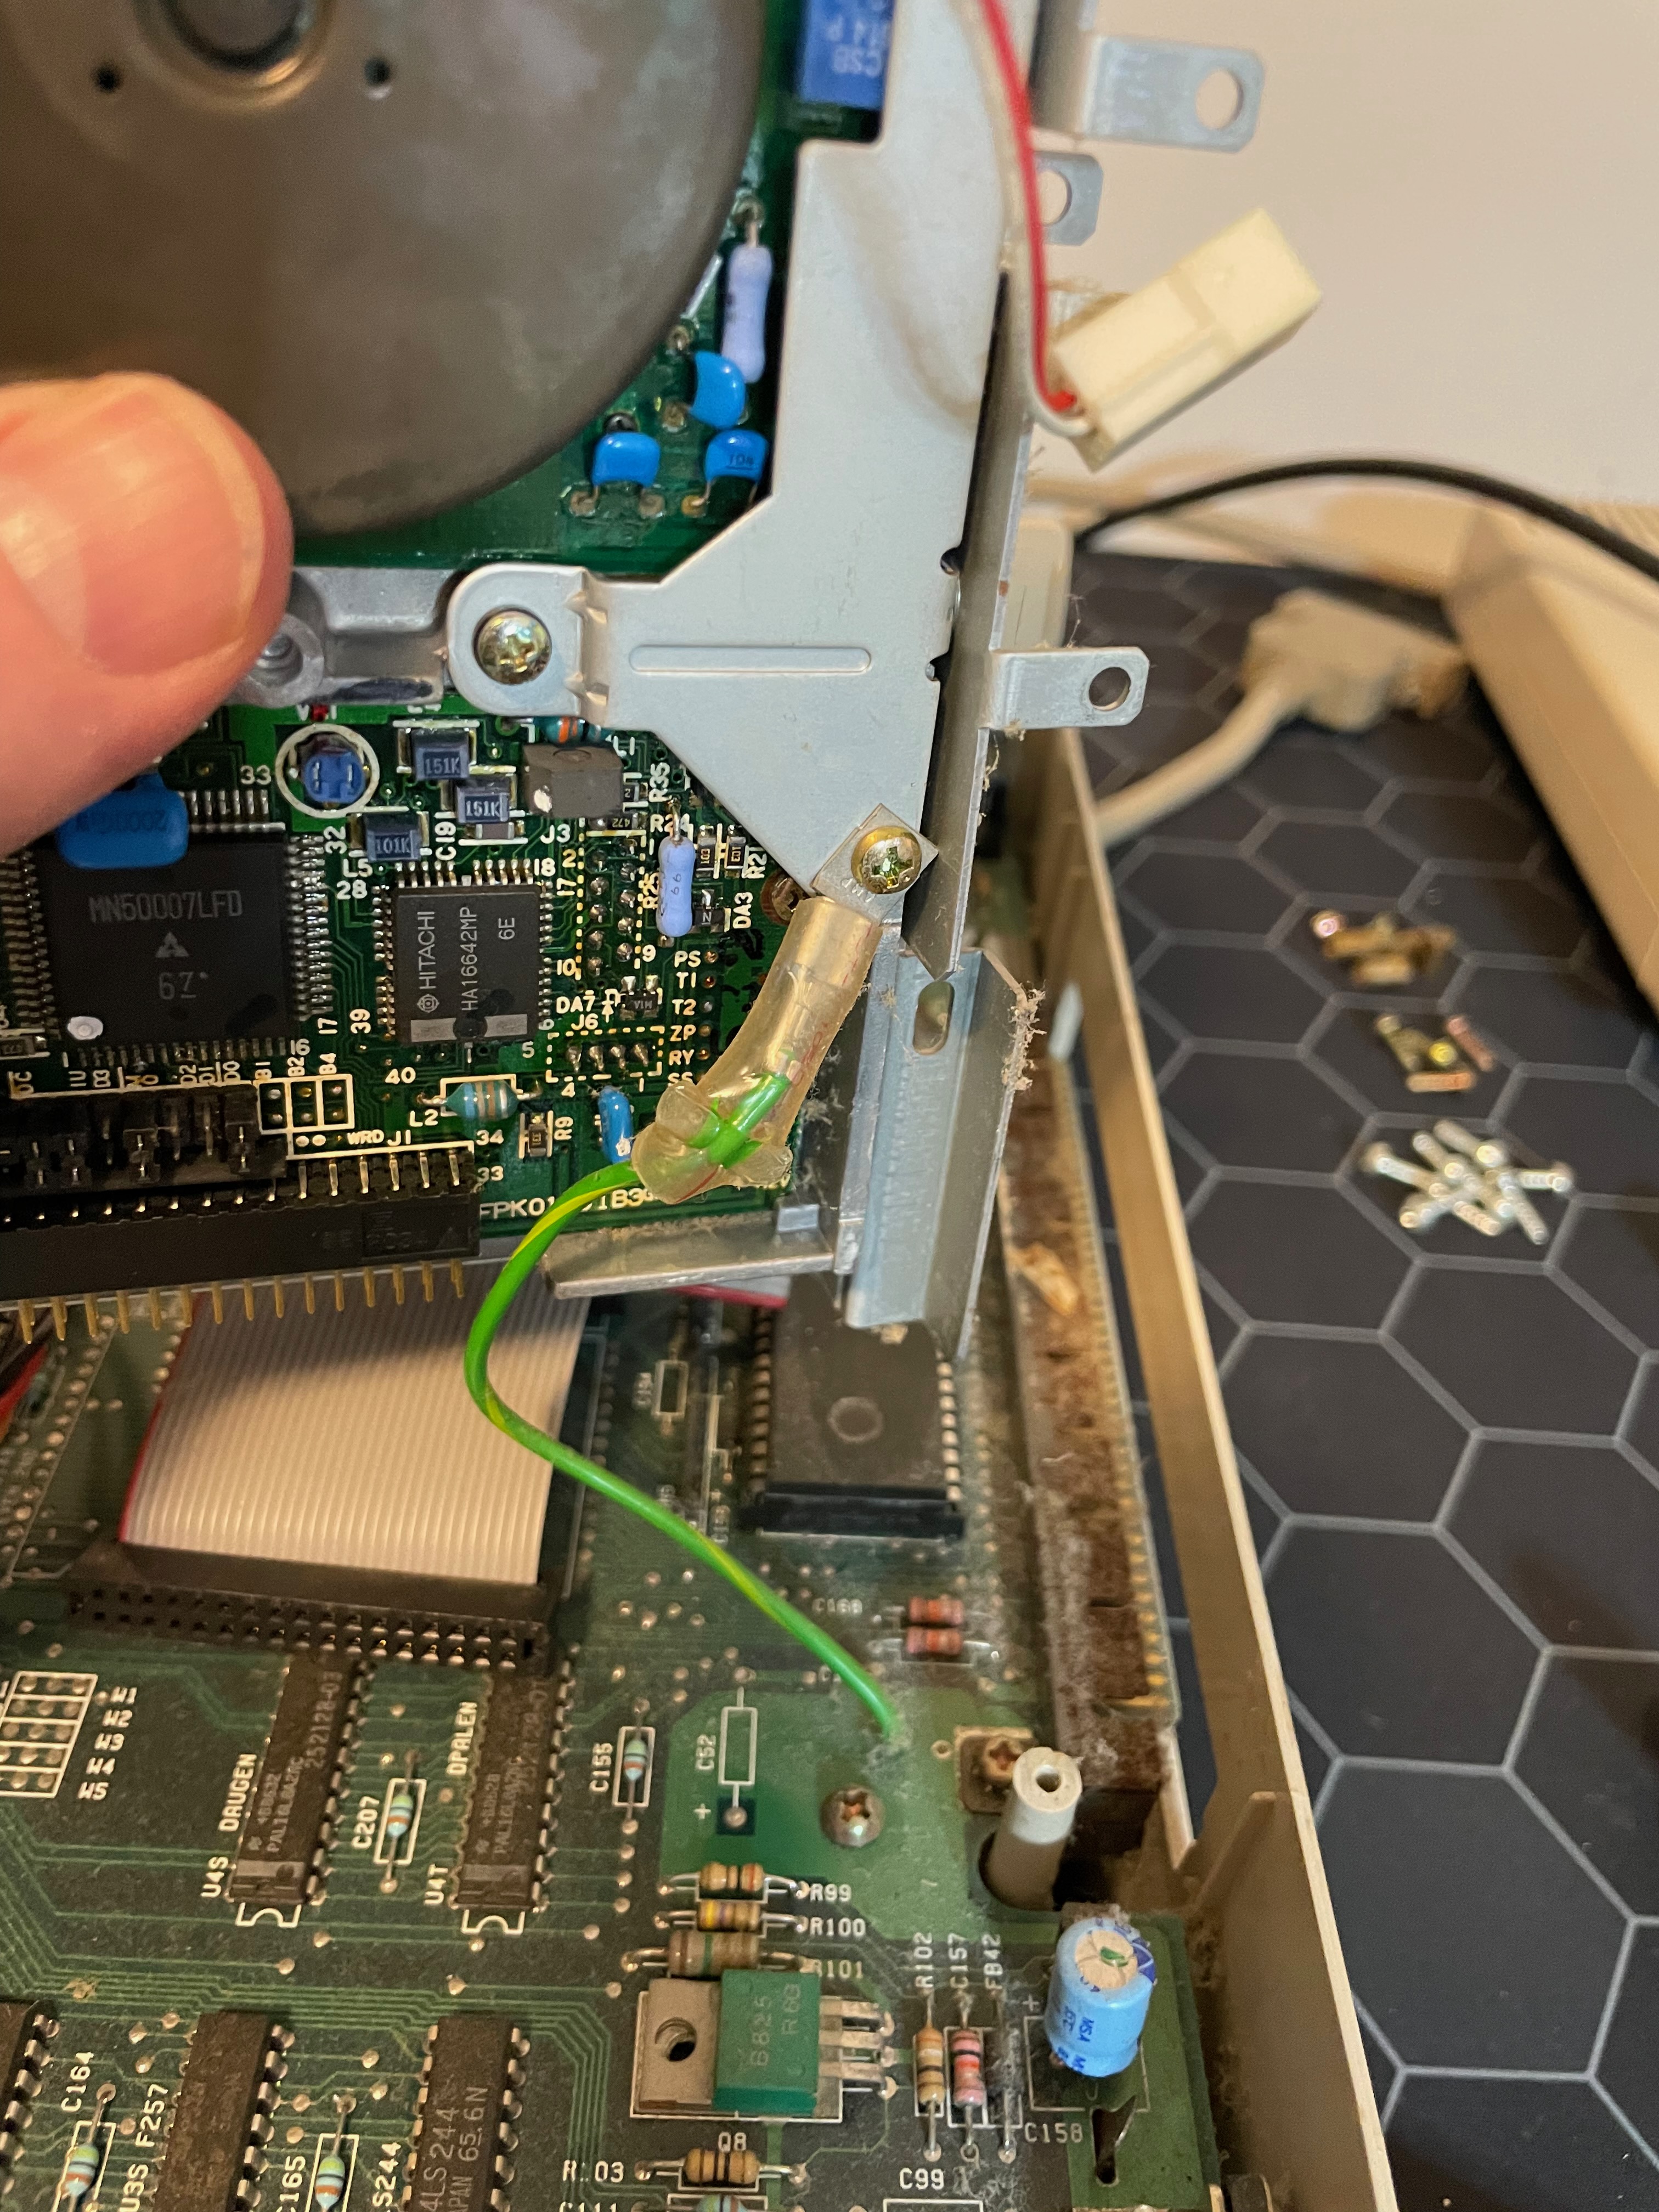
I was going to have to take everything out, strip everything back for this restore, so out came the mainboard, the expansion port shielding, and the power supply (after disconnecting the molex connector from the mainboard). Note the rear panel just slides up and out, it has enough flexibility to manipulate off the mainboard and up and out without breaking anything and without much force.
 |
| Removing the back panel - no screws |
 |
| Expansion port shielding also rusted |
 |
| Removing the expansion port shielding |
Under the mainboard is a bottom shield and polyurethane sheet to remove. It comes away easily after twisting the metal tabs on the mainboard so that they are straight and slips though the holes on the mainboard.
 |
| Bottom shield |
 |
| Polyurathene sheet that protects the mainboard from shorting-out on the bottom shield. Very important, DO NOT lose this!! |
And finally, out comes the power-supply:


On the topic of replacing caps:
Mitsumi Power Supply:
1x 180uF 400V 25mm diameter (C106, max height ~35mm tall)
3x 3300uF 10V 15mm diameter (C207, C208, C209)
1x 1000uF 35V 15mm diameter (C204)
2x 470uF 16V 10mm diameter (C201, C205)
1x 2200uF 10V 15mm diameter (C210)
1x 330uF 10V 8mm diameter (C202)
1x 1uF 50V 5mm diameter (C12)
And some Mouser Part #'s I was considering for replacement:
ECA-1CM220B
ECA-1CM101B
ECA-1CM470B
ECA-1CM221B
ECA-1CHG471B
Or checkout Retro-Rewind who sell a complete Amiga Cap kit, and advise they only use the top quality capacitors, I've ordered a set as I think I may be having some power issues inside my Amiga 1000:
Cap   -  Value - Rating - Type
C48   -  22uf  -  16v   - Radial
C49   -  22uf  -  16v   - Radial
C50   -  22uf  -  16v   - Radial
C63   -  22uf  -  16v   - Radial
C64   -  22uf  -  16v   - Radial
C65   -  22uf  -  16v   - Radial
C66   -  22uf  -  16v   - Radial
C78   -  100uf -  16v   - Radial
C79   -  100uf -  16v   - Radial
C80   -  100uf -  16v   - Radial
C175  -  100uf -  16v   - Radial
C93   -  220uf -  16v   - Radial
C95   -  470uf -  16v   - Radial

(Daughterboard)
C10   -  100uf -  16v   - Radial
C11   -  100uf -  16v   - Radial
Be prepared to wait a week or 2 for your order to arrive, so hurry-up and be patient!
Visual inspection did not show any problem signs - no caps were bulging/looking fat, tops blown, no leaks on the board, no signs of needing replacement. I did do some further testing with an MESR-100 which I picked up from eBay. This is an Equivalent Series Resistance (ESR) meter that I was using in-circuit to gauge if my caps were still within spec. YouTube has heaps of videos on how to use an ESR meter, how they works etc. I liked this one from TampaTec.
I also like that the MESR-100 won't break the bank at about $30AUD but still tells me that the capacitor is good if it within a certain range, and if not - I likely need to replace it.
 |
| Looks darn good for 37 years old! |
You can't check whether a capacitor is good with a multimeter. And really, you should remove capacitors from the circuit before you can trust the readings, but I was just looking for an indication, not a specific measurement.
I did have a fews caps out of spec, and took the power supply to Prestige Electronics in Canberra for a professional second opinion and repair - being AC and such a critical system in the computer, I did not want to risk doing it myself (be prepared to be patient, repairs take a few weeks to be looked at; the resulting job is worth the wait) . That, and Prestige Electronics was the only place in town still willing and able to work on CRTs and power supplies (it's a dying art).
I did a lot of research into the world of capacitors at this point. There is a LOT of info out there. The quick version then, a quick internet search shows any of these capacitors brands are considered trusted and high quality:
- Nichicon
- Rubycon
- NCC
- VISHAY.
- Panasonic
- KEMET
- TDK
Avoid "can" capacitors unless you are replacing a can. 'Can' capacitors were used on later Amiga's, and are the one's that typically leak/go dry and require replacing about now - lowered cost of later Amiga builds, but the Amiga 1000 did not compromise and usually does not need recapping (Thank you Mr Dunklee for the advice).
Stick with the electrolytic capacitors to stay as close as practical to spec, although a modern replacement might see polymer capacitors as a viable and long lasting alternative to electrolytic if you have too, or just can't control yourself. The only other type of capacitor in your Amiga 1000 that I am aware of are in-line ceramic capacitors (they are a light-blue colour and look a bit like resistors..more on this in a later blog entry, when I blew one out of existence with an SMD rework station).
Last piece of advice, and again received from Mr. Dunklee. You will see lots of advice about replacing capacitors with a higher voltage rating type. Do not do this - you want the capacitor to blow before your Amiga 1000 don't you?? Stay to the same spec as much as practical as 'enhancements' are likely to do more harm than good.
1081 CRT Repairs:
I also took my 1081 in for service as it definitely needed repair, and while I've done work on arcade CRT's in the past, I really did not enjoy discharging the cobra. The current in a CRT Tube is still powerful days or evens weeks later, so discharging is a must.
I am deliberately not talking about how to discharge here, because it really should be done by a professional, and the charge is enough to throw you across a room, into a wall and then you are likely dead. The world then cries, as another Amiga is orphaned.
For monitor repairs, here is a starting list of what to ask to be done:
1) Re-solder High Voltage (HV) coil to main board
2) Check/replace all electrolytic capacitors
3) Clean off dust and oil
4) Check for burnt or heated spots
5) Resolder SCART solder points - often cracked/dry joints from years of plugging in/out.
I also read somewhere that a standard failure is for the monitor to "pop," then go dark. Hitting it may bring back the picture. This is often caused by cold or cracked solder joints on the flyback transformer, which resoldering should cure.
And finally (not the monitor, but the mainboard this time. Noting I did not need this mod, and cannot vouch for it fixing anything), The composite video of the Amiga A1000 needs colour correction. Your red, greens, and blues may not look correct. The modification is simple; just remove resistor R140; located on the rear-left of the motherboard. On some A1000's, R140 will have to be replaced with a 470K ohm resistor instead.
I have not attempted the R140 mod, my RCA output is rubbish, but I use RGB to SCART to connect to my 1081 and get an excellent picture!
BTW - On a side-note, I read that a 1084S is the same tube and circuit, but with updated input connections and stereo speakers, but that's it. You are not missing out on anything from your 1081.
Wayne Johnson has a great blog on a 1081 repair worth reviewing.
Last word on Caps:

My cleaning obsession:
 |
| I found this one in Australia, at Jaycar Electronics, don't drink it! |
 |
| Just spray it straight on |
Use a toothbrush to scrub the years of neglect away. A toothbrush is ideal because it it non-conductive, and it is soft on the electronics. If you did happen to break something, then it needed replacement anyway. Also use cotton-buds to softly wipe away foreign material, you will go through a LOT of cotton-buds!


 |
| Elbow grease and patience. Rub, rub, rub! |
 |
| These were tarnished blackened brown |
 |
| Some pre-cleaning with a wire brush and WD40, but still not good |

I checked in on the acid bath each day, and gave each metal piece a good scrub with steel wool to help it along. While it was working, it was just too slow. So on the 5th day I added vinegar, bi-carbonate soda and lemon juice to increase the citric acid.
By the 7th day, I popped down to my local hardware store for some rust remover to increase the Phosphoric Acid already present in the Coca-Cola (which is why Coke is a candidate for removing tarnish on metal surfaces), and bring this part of the project to a close.
It was a fun experiment, but the most economical and fastest solution is easily to go to the hardware store and buy rust remover. Much cheaper and far more effective than 9 litres of Coca-Cola, but not nearly as much fun :). Don't drink the Coke from the tub...it is now toxic!!
Here is the result after 10 days - finally took it out of the acid bath, washed it down and dried it off:
 |
| Remarkable result, but not good enough |
Now before I go on, Mr Dunklee did point out that the Amiga shielding is not really useful today, it's purpose in the olden times was to minimise interference with things like rabbit-ears TV antenna's. My secondary interest was an experiment with reducing EMF transmissions (a topic surrounded in conspiracy theories, there is no evidence to say EMF in the home environment is a problem).
The acid wash has made a remarkable improvement, but the rust had done its damage, and I would not be able to restore a shiny surface yet. I looked at painting it, but not only would that risk paint flaking off over time, it also looks a bit rubbish. The only solution for my use-case was electroplating.
Regarding electroplating, to be honest, I just wanted to do it for fun. I wanted a shiny, mirror finish, which would require chrome plating, but chrome won't stick to tin, which the shielding is made from.
To get around this, I chose dual plating, with the first layer being nickel - a highly conductive material which would do a superior job of catching, trapping and dissipating EMF radio waves, and then chrome plating over the top. I could have also used Silver instead of Nickel for another $300AUD, but I think this was going too far - and Silver tarnishes, who wants to increase their cleaning burden?
You can find more info on the electroplating process here.
Find more information on the conductivity properties of electroplating materials here.
And this article talks about the choices for EMI Shielding.
|
| Filthy beast! |
To this:
 |
| OMG! |
 |
| You |
 |
| Sexy |
 |
| Thang! |
 |
| Fast forward a bit with some of the case back on |
The rust had pitted the tin, and there was no recovering that, so there are some slight blemishes, but the difference is out of this world! I'd love to find somewhere that could take a mould of the A1000 top cover and create a clear perspex copy so this could always be on display it's so good! But I know it's in there, a hidden treasure! Fingerprint marks come off very easily with IPA / Isopropyl in case anyone else loves their Amiga enough to electroplate their shielding 😍
As for the EMF Emissions (a good excuse to use with a partner who does not understand the value of shiny shielding...you're doing it for the kids!!). You can read more here if EMF is a concern for you.
A quick explanation, you know in the movies they have those Gieger counters? A Gieger counter measures radiation is units of Gauss.
1 Gauss = 100 Micro-Tesla's (uT). Above 0.4uT may be harmful (depends what you read)
Power lines are usually less than 100 Micro-Tesla's (less than 1 Gauss) from what I have read
10 Gauss will damage credit cards etc..So in my opinion, even at 0.4uT, we are well within safe limits in our homes....
V/m = Volts per meter. Above 40 could be potentially dangerous (depends what you read)


 |
| Reading using a modern Flat-Screen monitor via an OSSC |

 |
| Almost there.... |
 |
| All keys removed from the A2000 keyboard, ready for cleaning |
 |
| An Amiga 1000 Keyboard I applied the same treatment to |
 |
| And then putting it back together...all cleaned up! |
 |
| Maybe 6 hours from when dismantling started? |
 |
| Ahhh, much better... |

 |
| The ultimate result |


No comments:
Post a Comment